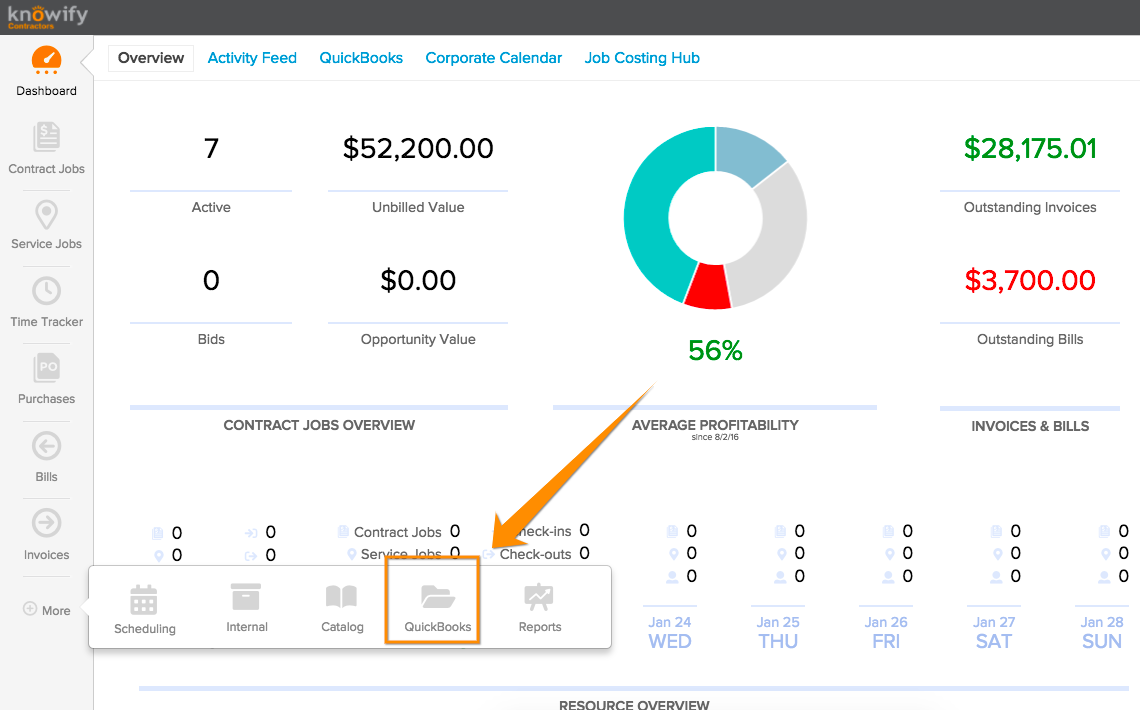
If you use Classes in QuickBooks and would like them to use them when pushing transactions from Knowify, you can map a Class to each job in Knowify’s QuickBooks module. First, you’ll want to go to your QuickBooks module under “Job Defaults”:


You’ll see that there is a list of your jobs below, and the ability to set a class to each one. For this example, we’ll use the example “Brian’s Boats” and set the “Commercial” Class to it:

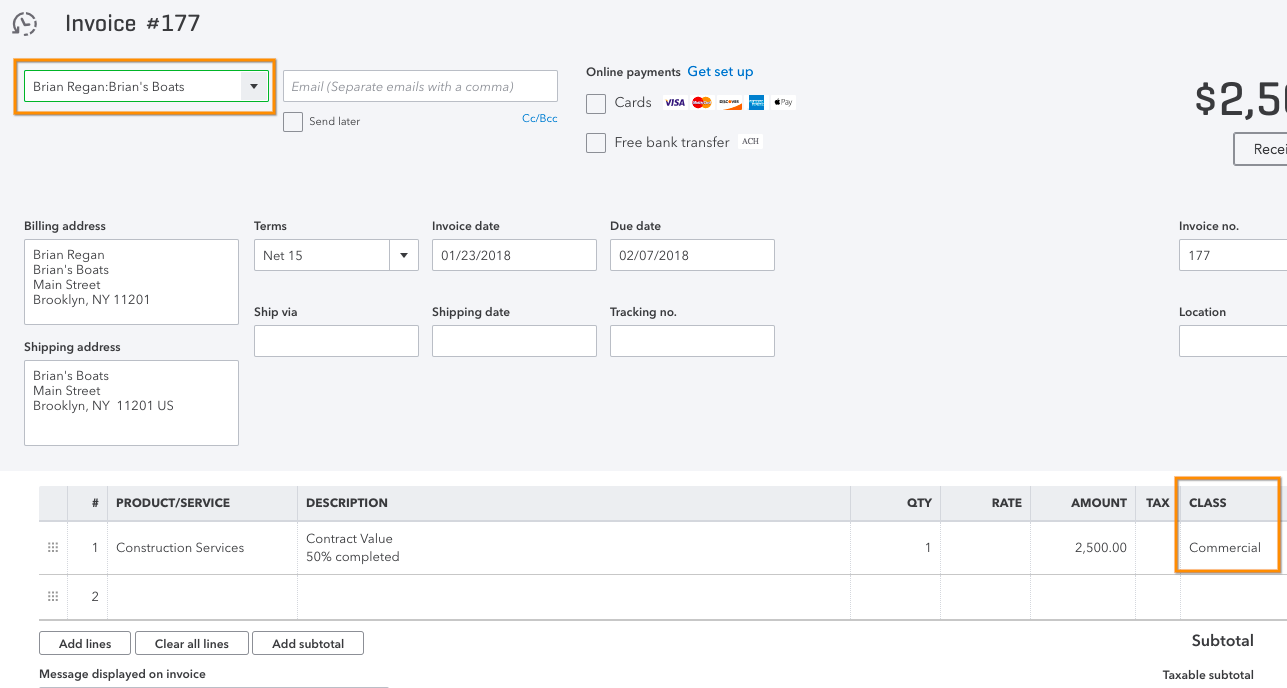
This way, when you create Expenses, Bills, or Invoices against this job in Knowify, it will use the “Commercial” tag when syncing with QuickBooks.
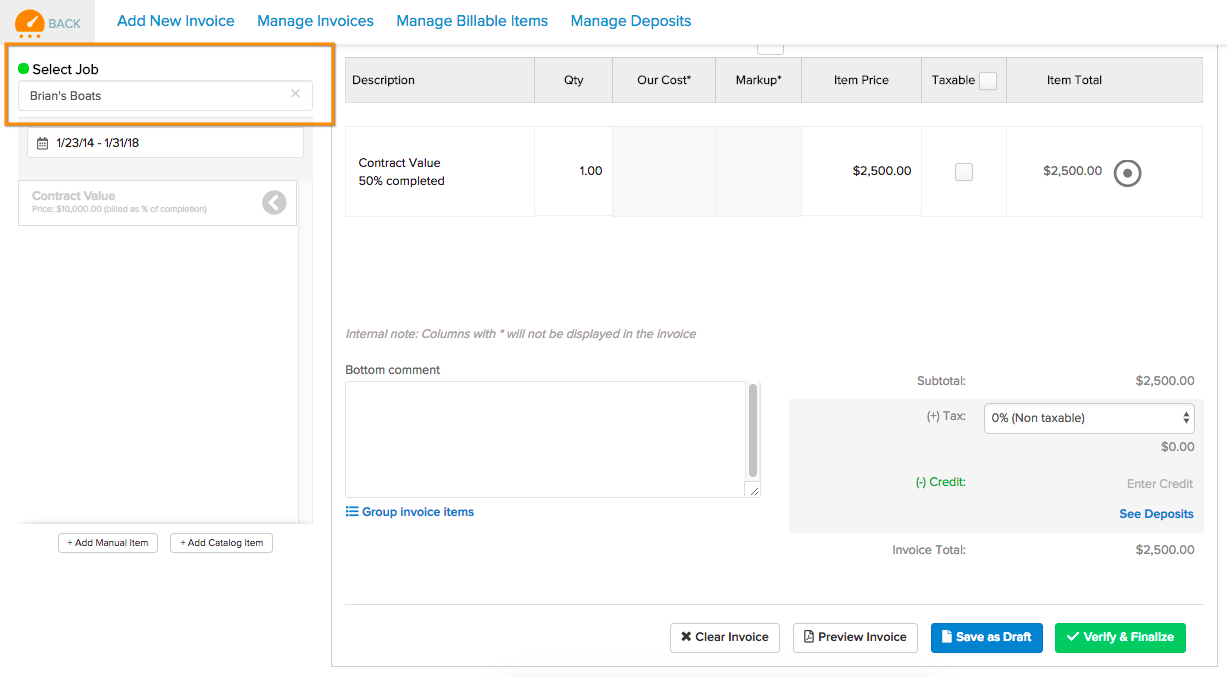
Knowify Invoice:

Invoice Synced to QuickBooks:

Bill Logged in Knowify:

Bill Synced to QuickBooks:

If you have more questions on how this works, please reach out to support@knowify.com and our team will be happy to help.