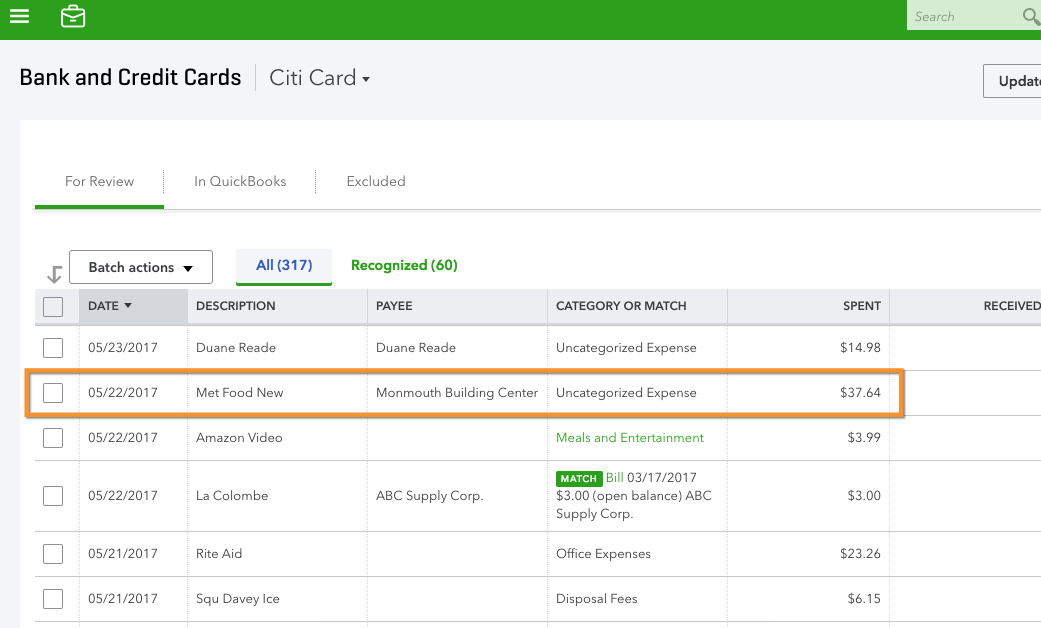
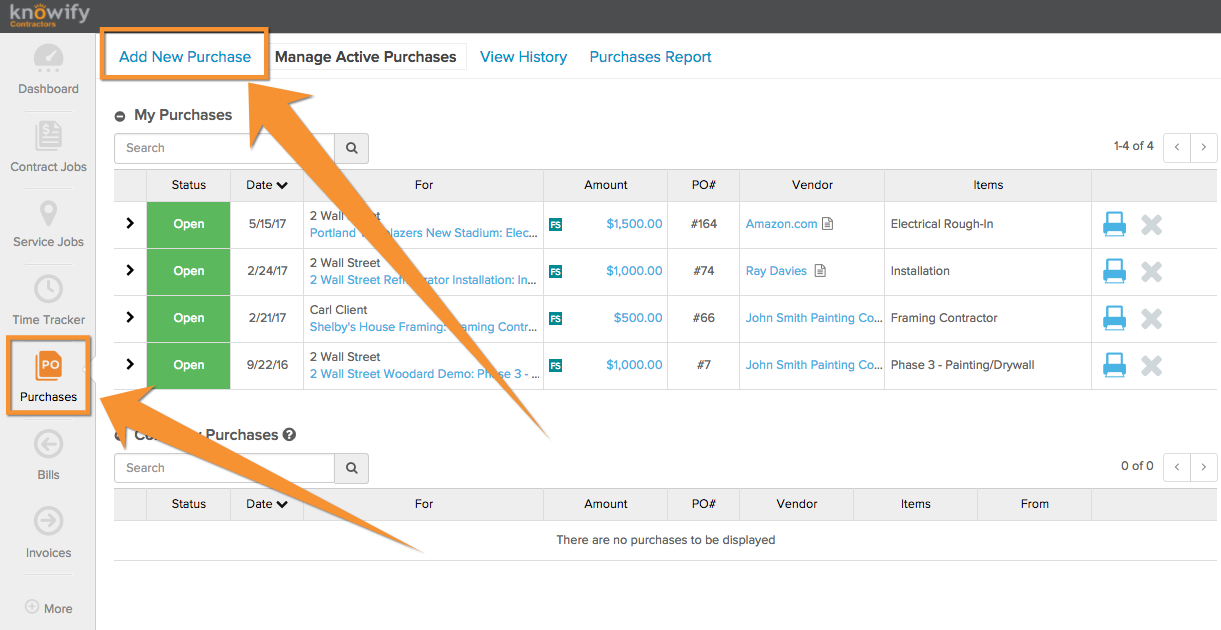
In your admin section under Customize, you may have seen a setting that needs to be enabled by Knowify’s Customer Support Team that is called “Credit Card Expenses”. This is a feature built for companies that have their credit card transactions automatically loading into their QuickBooks account. It allows Knowify users to input the transactions into Knowify as Purchases, and have them sync and match with the corresponding transaction in QuickBooks. This guide will show how this works. First, we’ll choose a transaction in QuickBooks. We’ll use the example below, a purchase on 05/22/2017 for $37.64:  In Knowify, you’ll want to go into your Purchases Module, since you are entering an item that was purchased. You’ll start the process by clicking Add New Purchase:
  When entering the purchase, you will be prompted to choose a vendor, (This database should be syncing with QuickBooks) but the most important fields to fill will be the cost, and purchase date. This is how QuickBooks identifies the purchases for matching.
  Next, you can choose which job and phase you would like this expense allocated to for job costing. If you do not see your job at first, start typing the first 3 letters of the job, phase, or client name to filter this out.
It’s also very important to mark the payment method as “Pay with credit card”. This will create a dropdown menu for you to choose which Credit Card account in QuickBooks the purchase was made on, so it knows where to look for the match.  When the purchase is submitted, it will automatically close, because it it no longer looking for any bill reconciliation in Knowify, as that will now be handled in QuickBooks. You can open the purchase details to see the sync status:
  Then when you go back to your banking feed in QuickBooks, you’ll see the option to match, and reconcile in QuickBooks with the expense created in Knowify:
  And then it will be moved into QuickBooks as an expense! If you’d like more information on how this works, please reach out to us at support@knowify.com